
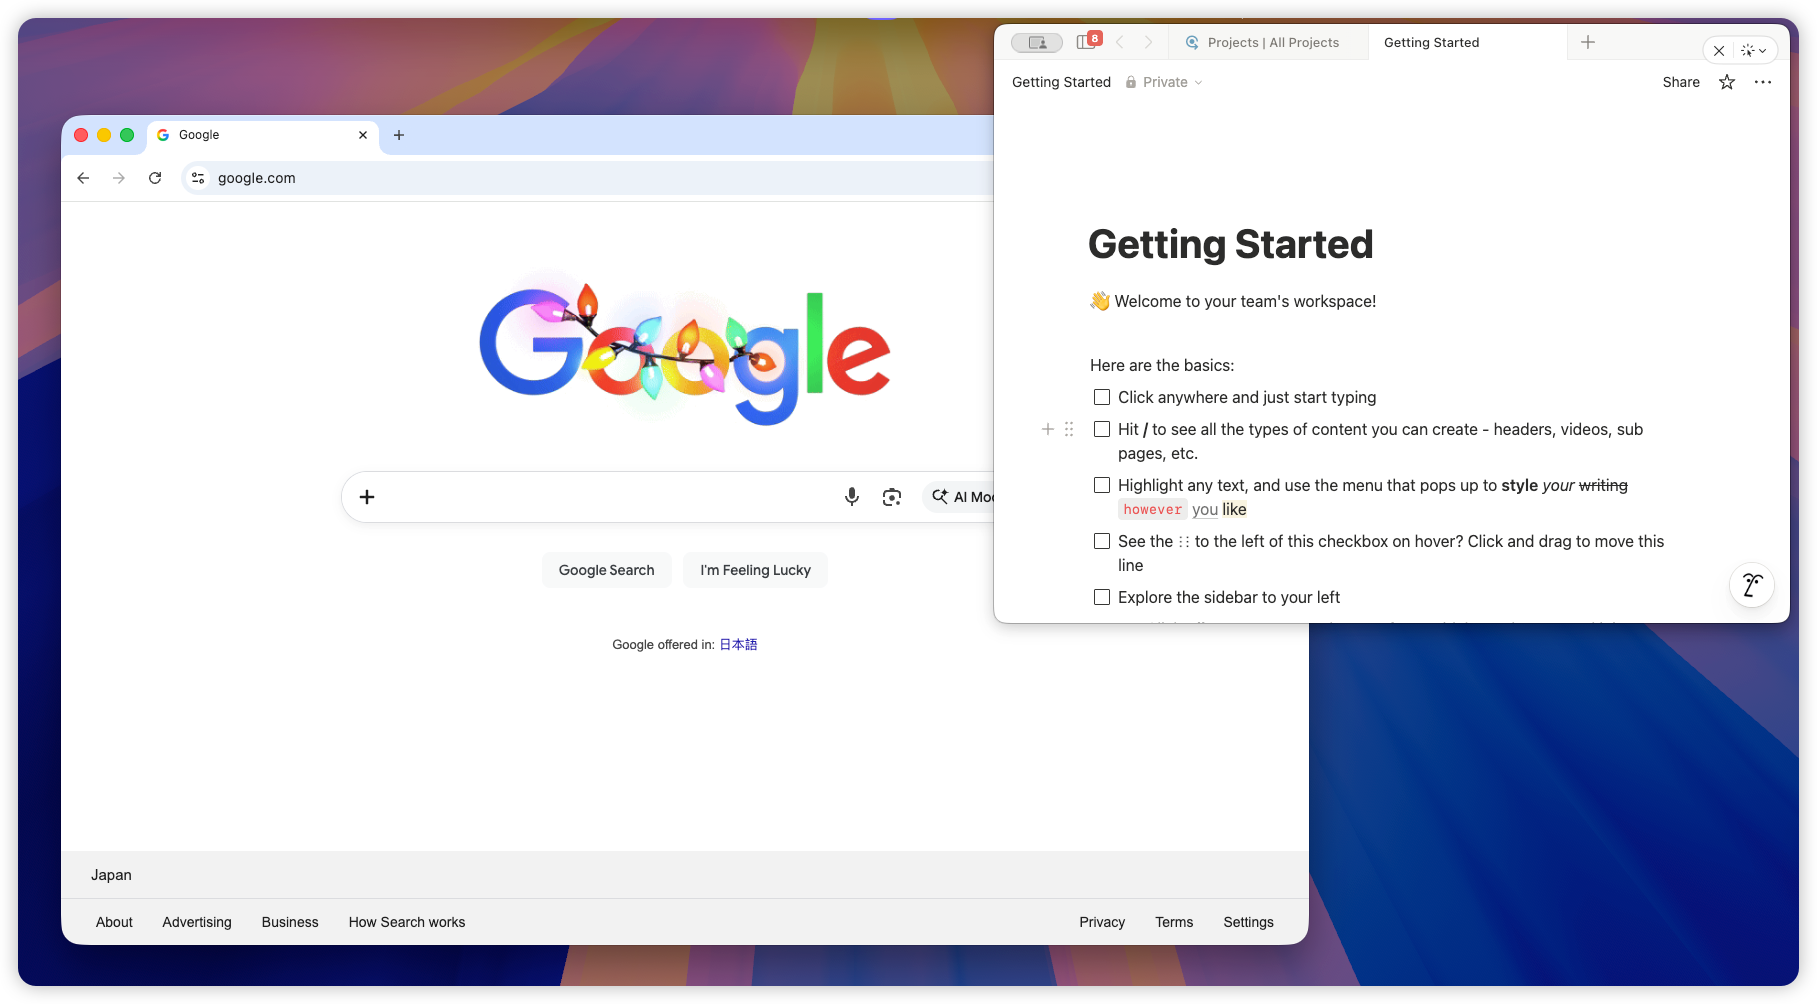
Notion is often where the plan lives: meeting agendas, daily checklists, project notes, research scraps, product requirements, little reminders you do not want to lose while doing the actual work somewhere else.
The awkward part is that Notion behaves like every other Mac window. The moment you switch to Safari, VS Code, Figma, Slack, Zoom, or a spreadsheet, the page you wanted as a reference can disappear behind the app you are using.
If you searched for Notion always on top or pin Notion on Mac, the short answer is this: macOS does not include a built-in always-on-top switch for Notion. You either have to arrange windows side by side, use a window manager workflow, or use a small floating window tool that can keep the Notion window above the rest.
This guide walks through what does and does not work, then shows the cleanest way to keep a Notion page visible while you keep working.
Why Notion does not have an always-on-top setting on Mac
Unlike some Windows utilities, macOS does not ship with a system-wide Always on Top toggle. Window order is handled by macOS itself, and most apps, including Notion, cannot simply declare that one document should float above everything forever.
That is why you will not find a native “pin this Notion page” button in System Settings, Mission Control, Stage Manager, or Notion’s own preferences.
This does not mean you are stuck. It just means the solution has to work at the window level, not inside Notion itself.
What people usually try first
Before using a dedicated tool, most people try one of these.
Split View or Stage Manager
Split View and Stage Manager can help organize a messy desktop, but they do not make Notion stay on top. They are layout tools. If you only need Notion next to one app, they can be enough.
The moment the workflow gets more fluid, they start to feel rigid. A meeting agenda next to Zoom is fine until you need to open a browser. A task list beside your editor is fine until you need a terminal, design file, or preview window. Notion is still just another window in the layout.
Picture-in-Picture
Picture-in-Picture is excellent for video. It is not a general-purpose window pinning feature.
Notion is not a video player, so PiP cannot turn a Notion page into a floating note, checklist, or meeting agenda. If your goal is to keep a Notion doc visible, PiP is the wrong tool.
A window manager shortcut
Some Mac window managers include an always-on-top command. This can work, especially if you already use that app every day.
The tradeoff is that these tools are usually built around resizing, snapping, and keyboard commands. That is great for layout control, but not always ideal for a small reference overlay that you want to make translucent, click-through, or quickly unpin when you are done.
A focused always-on-top utility
For Notion, a focused utility is usually the most natural fit. You choose the Notion window, pin it, resize it to the shape you want, and let it sit above your active work.
That is the workflow Floaty is built for.
How to keep Notion always on top with Floaty
Floaty is a lightweight Mac app for keeping any window always on top. It works well for Notion because Notion is often used as supporting context rather than the main app you are actively typing in every second.
Here is the basic setup.
Step 1: Open the Notion page you want to pin
Start with the actual page you want visible. For example:
- A meeting agenda
- A daily checklist
- A bug triage list
- A product requirements page
- Research notes for a browser session
- A writing outline beside your draft
Then resize the Notion window before pinning it. A narrow panel or compact card usually works better than a full Notion workspace. You want enough space to read the page, but not so much that it covers the work underneath.
Step 2: Open Floaty and select the Notion window
Launch Floaty and choose the Notion window from the list.
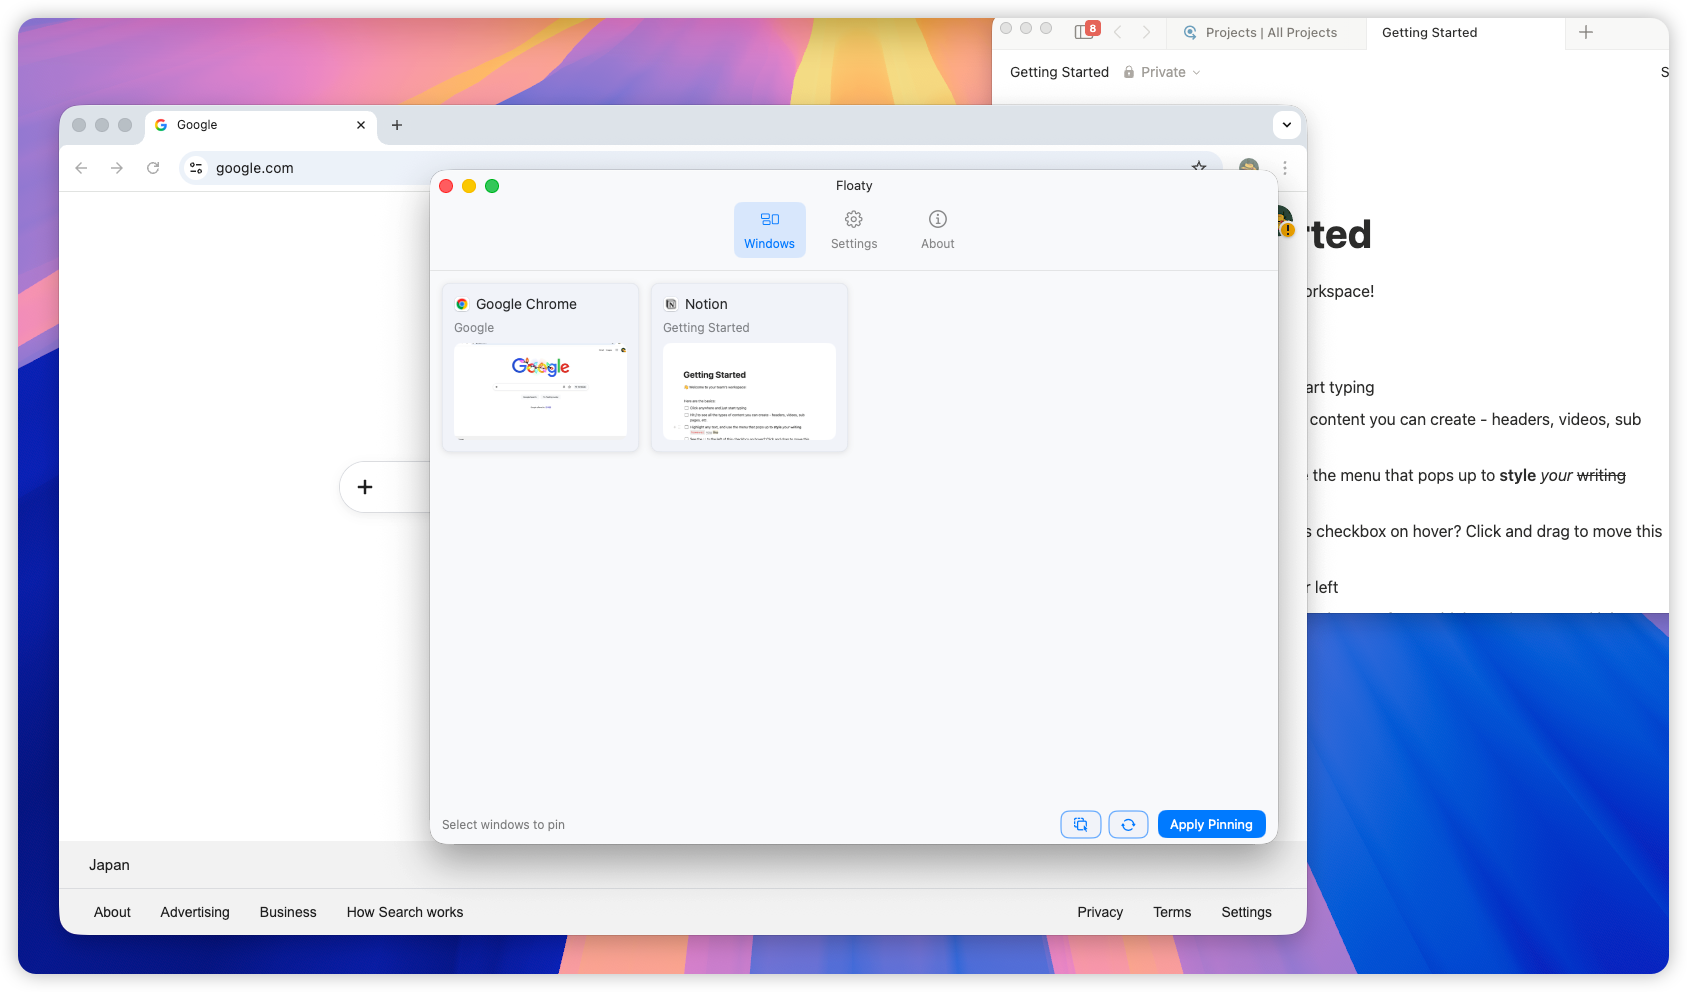
If you keep several Notion windows open, use the title and preview to pick the one you actually want floating.
Step 3: Apply pinning
Apply pinning, then switch back to your main app. The Notion window stays visible above the rest of your workspace.
At this point, treat the pinned Notion window like a small reference layer. Move it to a corner, tuck it along the side of the screen, or keep it near the app it supports.
Step 4: Adjust opacity
Opacity is where pinned Notion starts to feel less intrusive.
If you are reading a checklist or agenda, 70-85% opacity often feels best. If the page is only a light reminder, 50-65% can work. Going too low usually makes Notion look clever but harder to read, which defeats the point.
The goal is not to make the overlay disappear. The goal is to keep it present without making your main app feel cramped.
Step 5: Use click-through when Notion is only a reference
Sometimes you want Notion visible, but you do not want to click it accidentally.
That is where click-through helps. For example, if a daily checklist is floating above VS Code, you may want to keep editing code while the checklist stays in view. In Floaty, this kind of setup is handled through the activation mode, so the pinned window can act more like a passive reference layer.
Use click-through for pages you are mostly reading. Turn it off when you need to edit the Notion page frequently.
Notion workflows that feel better when pinned
The best use cases are not dramatic. They are the small moments where you would otherwise switch windows ten times in five minutes.
Meeting agenda above Zoom or Google Meet
Notion is a common place to keep meeting agendas, talking points, customer notes, or action items. Pinning that page above Zoom or Google Meet keeps the meeting plan visible without forcing you to share it, resize everything, or keep jumping back to Notion.
This is especially useful when you are presenting, taking notes, or leading a call. Your agenda stays in your line of sight, but the meeting app remains the main workspace.
Daily checklist above your writing or coding app
For deep work, a pinned Notion checklist can act like a quiet command center. Keep the three things you need to finish today visible above VS Code, Xcode, Google Docs, or your writing app.
It sounds small, but it changes the rhythm of work. You do not have to remember what is next, and you do not have to open Notion every time you finish one task.
Research notes above Safari or Chrome
When browsing through docs, competitors, academic papers, or product examples, Notion often becomes the place where fragments collect.
Pin your research notes above the browser and keep the page narrow. You can skim, compare, and capture thoughts without constantly losing the note page behind tabs.
Product requirements above Figma
Design and product work often involves a Notion spec on one side and the actual artifact somewhere else. Pinning requirements above Figma, Sketch, or a prototype helps keep constraints visible while you review screens.
This is a better fit than a full split-screen layout when you only need a small slice of the doc: acceptance criteria, copy notes, open questions, or a short checklist.
Personal dashboard during routine work
Some people keep a Notion dashboard for daily habits, priorities, links, or project status. Pinning it briefly can be useful at the start of a session, during planning, or while clearing a queue.
You probably do not want a dashboard floating all day. But for a focused 20-minute pass, keeping it above the rest of the desktop can remove a surprising amount of context switching.
Tips for making a pinned Notion window feel natural
A pinned window should feel like part of the workspace, not a billboard pasted over it.
Keep the Notion page narrow. Most Notion pages have a lot of horizontal whitespace, so a compact window often reads better than a wide one.
Use headings and short lists. A dense Notion doc is harder to use as a floating reference. If you know a page will be pinned, make the top section scannable.
Avoid full-screen Spaces. macOS full-screen mode isolates apps into separate Spaces, which makes floating-window workflows less predictable. Standard windows or Split View-style layouts are usually smoother.
Tune opacity by content. Meeting agendas usually need high readability. A daily checklist can be more subtle. A dashboard with large headings can handle more transparency.
Turn click-through on only when it helps. If you need to edit the Notion page, leave it interactive. If you only need to glance at it, click-through can make the overlay feel much less annoying.
FAQ
Does Notion have its own always-on-top mode?
No. Notion does not include a native always-on-top mode on Mac. You need a macOS-level window tool if you want the Notion window to stay above other apps.
Does Notion stay on top across multiple monitors?
Yes. A pinned Notion window stays above other windows on the display where you place it. If you move the window to another monitor, keep your main workflow on that same display for the cleanest setup.
Does this work with full-screen apps?
Not reliably. macOS full-screen apps live in separate Spaces. For best results, keep Notion and your main app in standard windows before pinning.
Why does Floaty ask for Accessibility and Screen Recording permissions?
Accessibility lets Floaty select and manage windows on your Mac. Screen Recording is used for live previews and window content. The workflow runs locally; Floaty does not upload your screen content.
Can I pin more than one Notion window?
Yes, if your Floaty setup supports multiple pinned windows. That said, one compact Notion reference is usually easier to manage than several floating docs.
Keep Notion visible while you work
If Notion is part of your working memory, keeping it visible can remove a surprising amount of window switching. You still work in your main app, but your checklist, agenda, notes, or requirements stay where your eyes can find them.
Want the full multitasking setup? Read: