
YouTube is one of the most powerful tools for learning — programming tutorials, design walkthroughs, lectures, and step-by-step guides. But on macOS, the moment you switch apps, the YouTube window disappears behind everything else.
macOS includes Picture-in-Picture (PiP), but PiP only works for the video player, not for the full YouTube window — and certainly not for notes, documentation, code, or other apps you need side-by-side.
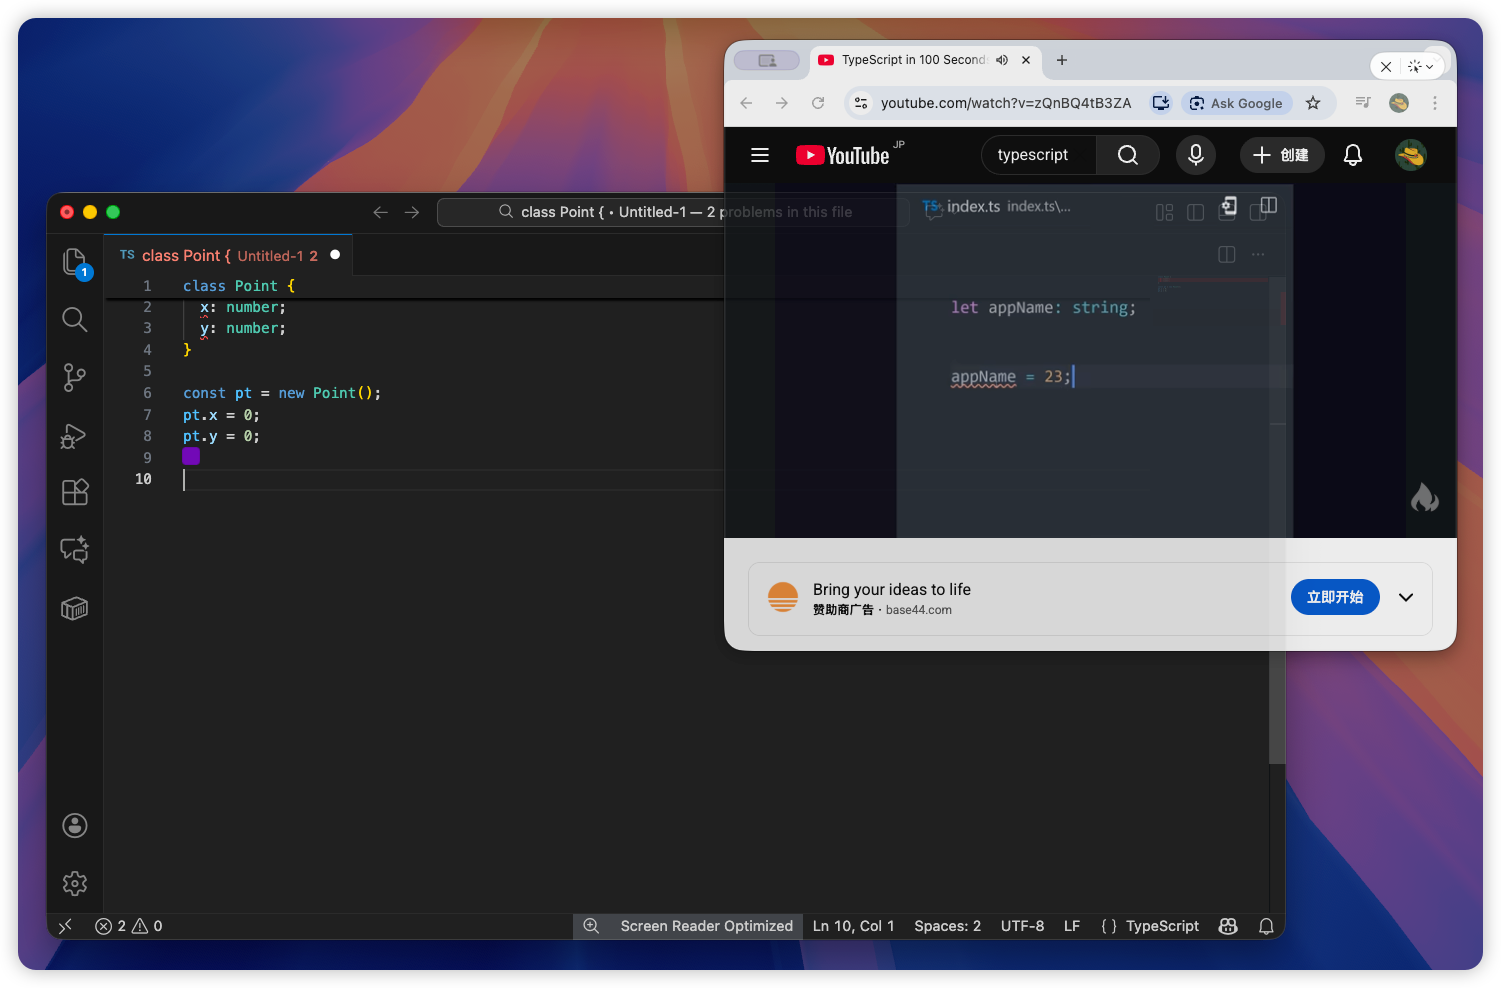
So here’s the simple solution:
👉 Use Floaty to turn any window into a full Picture-in-Picture–style floating window. Including the entire YouTube page.

This instantly communicates:
- YouTube is running
- Notes is floating like PiP
- But Notes is not a video → demonstrating why Floaty is better than PiP
Perfect visual story.
⭐ 1. Open YouTube in your browser
Chrome, Safari, Arc — any browser works. Open the video you want to follow while studying, coding, or designing.
⭐ 2. Turn the Notes window (or any app) into a PiP-style floating window
Open Floaty → choose the window you want to float → click Apply Pinning.
This creates a Picture-in-Picture–style overlay, but for any window, not just videos.
Use it to float:
- Notes
- Documentation
- VS Code
- Figma
- ChatGPT
- PDFs
- Or even the full YouTube page itself
⭐ 3. Use Floaty to make “full-window PiP” for YouTube
The best part is that Floaty works on the entire browser window, not just the video.
This means you keep:
- the timeline
- comments
- transcripts
- description links
- playlists
- chapter markers
- subtitles
- and all the UI you need to follow tutorials
This is something system PiP simply cannot do.
🎯 Why Floaty Is Better Than macOS Picture-in-Picture for YouTube
Here is the message you want to convey:
✔ Floaty = PiP for the full window
PiP = only the video player. Floaty = the entire browser + full UI.
✔ Floaty works for ANY window
PiP works only for video apps.
✔ Works with notes, docs, code, design tools
That means you can float your tools, not just the video.
✔ Resizable, movable, and keeps your workflow intact
Full flexibility compared to locked PiP sizes.
✔ Perfect for tutorials
Coding, design, lectures, walkthroughs — anything.
🧠 Real use cases where Floaty beats PiP instantly
- Coding with YouTube tutorials — Keep the full YouTube UI visible while floating Notes or VS Code.
- Following design walkthroughs — Pause, jump, rewind using the full timeline.
- Taking notes — Float Notes on top of YouTube; ideal for students.
- Learning languages — Subtitles + transcript + video remain visible.
- Following multi-step instructions — Chapter markers stay accessible; PiP hides them.
🎨 Optional: Floaty Pro features that extend PiP
- Transparency — Make your floating window see-through.
- Click-through — Interact with apps behind your floating window.
- Multi-window PiP — Float multiple items at once (YouTube, Notes, Docs, Code).
🎉 Final Thoughts
Picture-in-Picture on macOS is useful — but limited. Floaty lets you create a true PiP-style workflow with any window:
- full YouTube window
- notes
- documentation
- code editors
- design tools
- PDFs
- and more
If you want to keep other apps on top as well, check out our full guide on keeping any macOS window always on top: How to Keep Any Window Always on Top on macOS.
Related posts
- Pin Window on Mac: the macOS Always on Top playbook
- The 2025 macOS Always-on-Top Landscape: What Actually Works (and What Doesn’t)
- How to Keep Zoom Always on Top on macOS While You Work
- How to Keep PDF and Preview Always on Top on macOS
- How to Keep Notion Always on Top on macOS
⭐ Try Floaty Yourself
Try full-window Picture-in-Picture for YouTube and any macOS app.
Floaty Free lets you float one window — perfect for YouTube workflows.
👉 Upgrade to Floaty Pro — transparency, click-through, and multi-window PiP.